Tags
baby bunting, baby costume, first photos, Halloween Costume, holiday, jack-o-lantern costume, knit baby gift, Knit cap pattern, Knit Stocking Pattern, newborn, Newborn knit pattern, newborn photo prop, photo props, pumpkin costume, swaddle
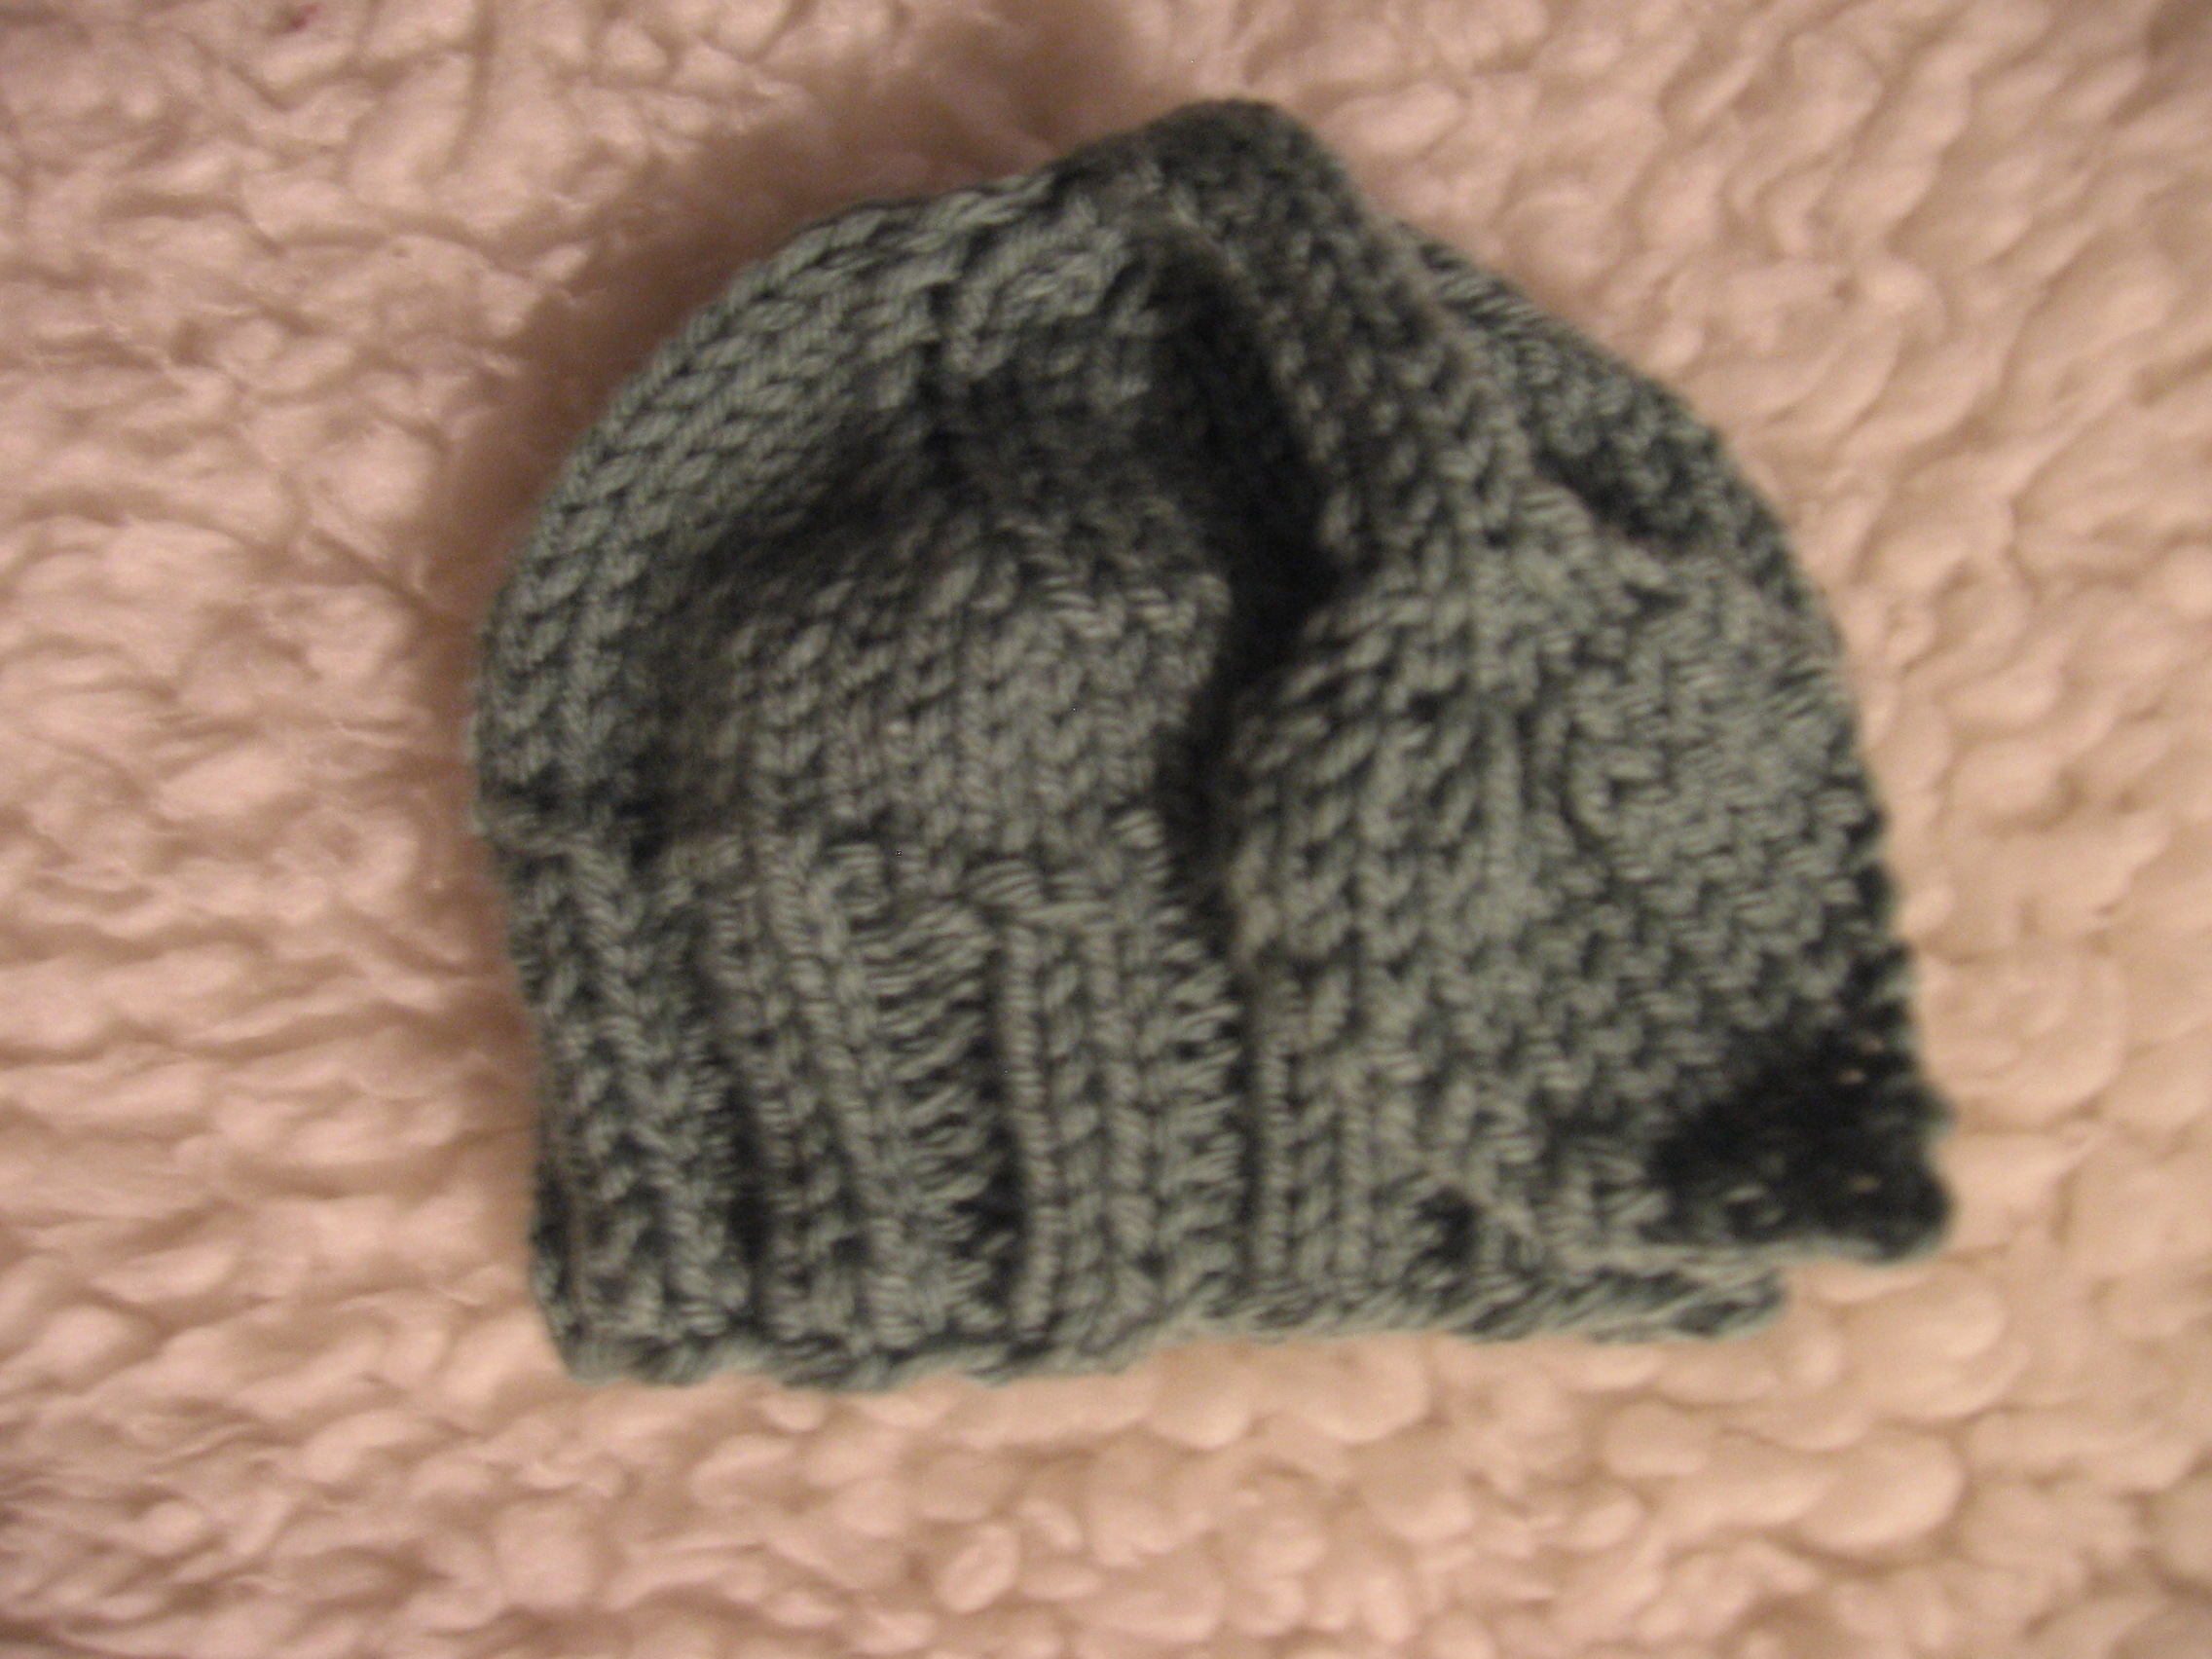
This is the first of two posts I’ll be making on how to knit a Newborn Pumpkin Stocking and Leaf Cap for newborn photos or baby’s first Halloween costume. Even though I don’t have a model for pictures yet, I decided to give you a peek at the project and start on the cap. This can be done in about an hour. Part two requires a little more time, so I thought you’d want to get started!
For this project you will need: a small ball of worsted weight green yarn (for the cap and also for the contrasting chain stitch to begin the stocking) a large skein of worsted weight orange, five double pointed needles size 8, and a crochet hook about size H.
If you are like I was, you may need to change your paradigm about knitting in the round with double point needles. At first I was hesitant to try using them, but when I finally did, I immediately fell in love with working with them and everything they allow me to do. I was afraid my stitches would be slipping off all the time. Not so. There is something of a learning curve with getting accustomed to using one set of needles while another pokes out in the way, but actually, it comes pretty quickly and naturally if you’re already acquainted with knitting on straight or circular needles. This little cap is a very quick project to help you get a feel for it.
Cast on 48 stitches of the green yarn. (For a refresher on casting on, click here.) Divide them equally between 3 double point needles (16 stitches each) and carefully, to avoid twisting, join the ends by simply beginning to knit using both the live end and the tail together to knit two, purl two, repeatedly until you’ve used up the tail (quick trick–no knot and you get to avoid having to weave it in later.)
Knit 2, Purl 2, repeat for 10 full rounds (1-10) to complete the cuff. Continue, using just the knit stitch for 6 more rounds.
For the next eight rounds (11-18): knit two together at the beginning of each needle, then knit the remaining stitches on each needle. This will decrease 3 stitches each round.
Next round (19): (when there are just 8 stitches on each needle) knit two together, knit two, knit two together, knit two.
Next round (20): (beginning with 6 stitches on each needle) Knit two together, knit one, knit two together, knit one.
Round 21: (beginning with 4 stitches on each needle) knit two together twice.

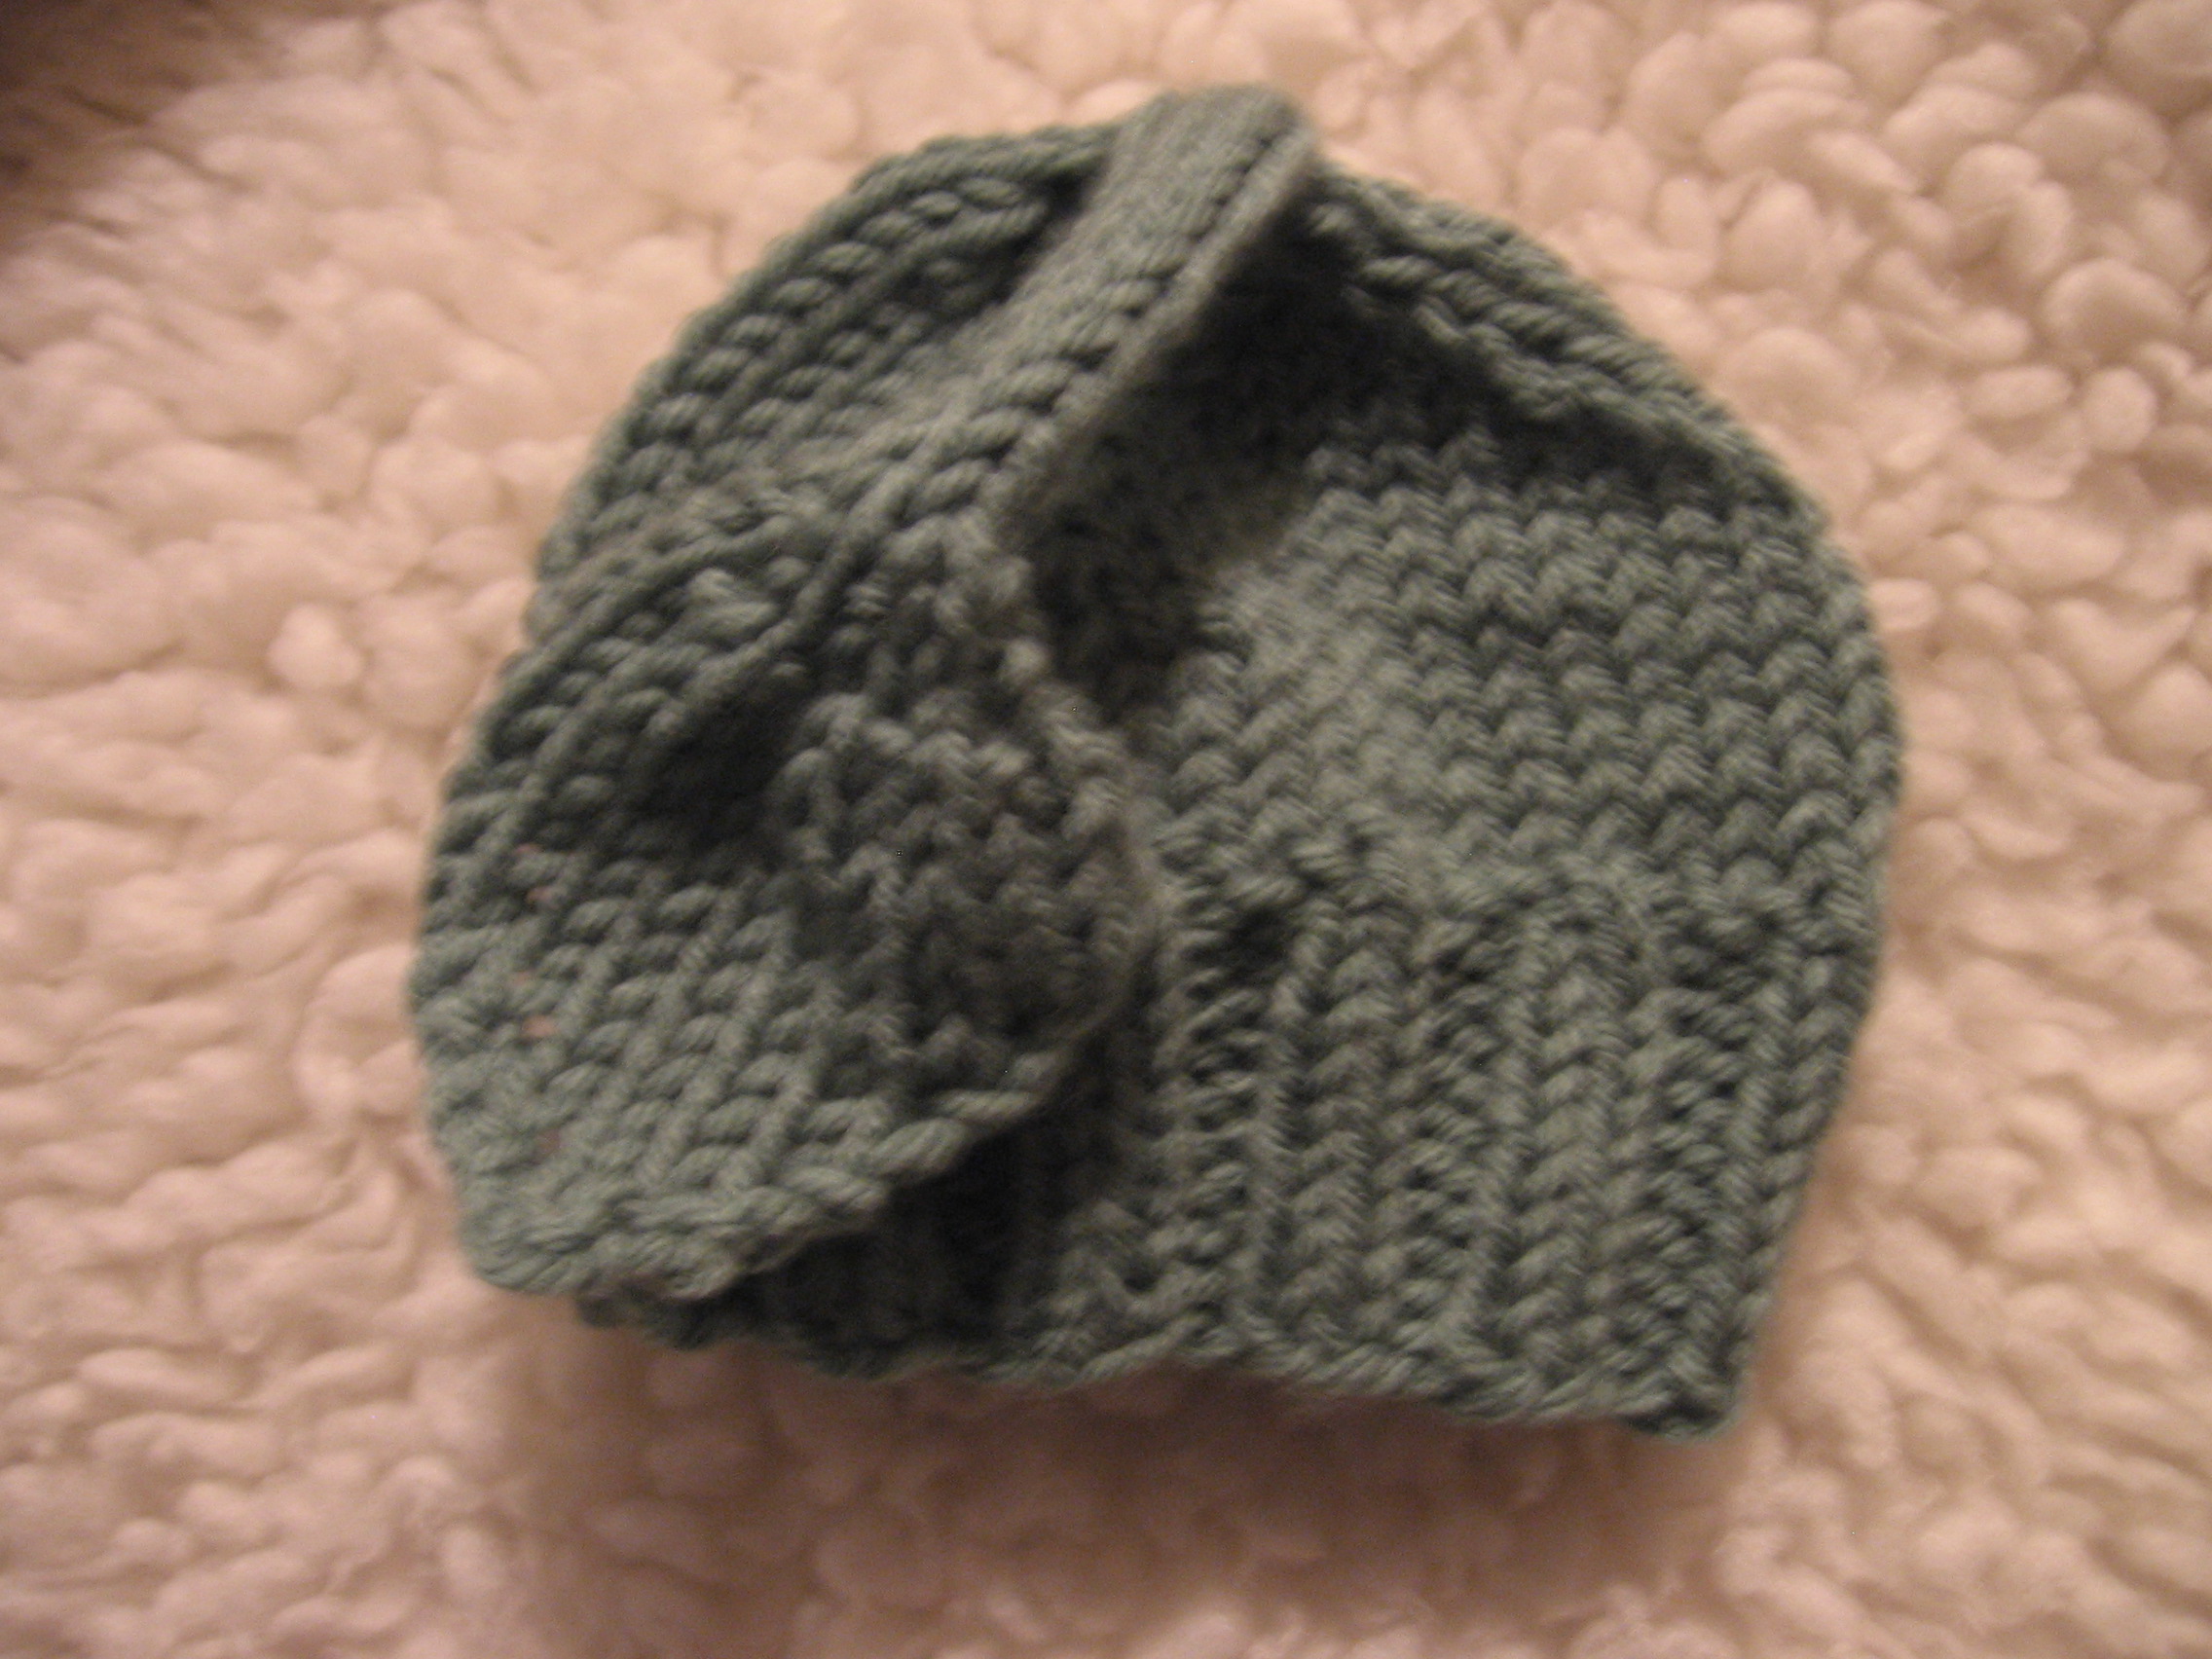
Round 22–The Stem: redistribute so you have 3 stitches on each of two needles and continue knitting around until the tube is the desired length.

The Leaf: With the two needles back to back, knit one from the front needle, then knit one from the back needle, then from the front again, alternating until you have knit all six stitches onto one needle. Turn, then purl front and back of the first and last stitches to increase the number of stitches from six to eight. Knit next row, knitting front and back of alternating stitches to increase the number to 12. Purl next row. (The next row will begin decreasing the number of stitches to shape the leaf.) Knit 2 together, knit 9, knit two together. Continue decreasing stitches on the leaf by knitting (or purling on alternating rows) 2 together for the first and last stitch of each row until there is only one stitch left on the needle. Cut the yarn, leaving a tail about 6 inches long. Pull it through and weave in the end.